Showing posts with label homespun holiday. Show all posts

Thursday, June 28, 2018

parts and blocks

I have really enjoyed the paper piecing and working on Christmas Snowflake quilt. I find it repetitive enough that I can just set a rhythm and sew away, but interesting enough to hold my interest. And the results are great.


I don't have all the paper piecing done, but I still had to make a few blocks to see how they are coming together. They are so fun.


It's a chance to see all the fun old Christmas fabrics play nicely together and be useful.


I am linking (links in the sidebar) to:


needle and thread Thursdays
and
Oh scrap

Thursday, June 21, 2018

Christmas snowflake assembly

And now we have come to the last of the Christmas snowflake instructions and time to start assembly.


Choose a center square in a square  from week 1

 add a set of 4 wings from week 2


 and 4 matching corners from week 3


And sew together like a 9 patch and tada it is finished. Again, there are 16 blocks. Arrange on a design wall and assemble in rows.


I am linking (links in the sidebar) to:


needle and thread Thursdays
and
Oh scrap

Thursday, June 14, 2018

Snowflake corners

This is the last part of the snowflake block.


It's time to make the corners. Here is a quick tutorial for foundation piecing. The wrong side of the fabric faces the wrong side of the paper. Each piece has been cut to size.


The piecing on the corner will use the prints in number order. #2 print is the same as # 1 on the wings. #5 on the corner is the same  #4 on the wings. # 8 on the corner is the same as # 7 on the wings.


The first set of rectangles is the smaller set. The next round will be the larger rectangle.


It is important to check against a light source that the triangles are centered.


I had the most trouble with the last pesky triangle. I am not sure why.


Each block will need four matching corners. And these corners should have the same fabric as the four matching wings. So make 64.
After this we are ready to assemble. It won't be long now.


I am linking (links in the sidebar) to:
needle and thread Thursdays

Thursday, June 7, 2018

Christmas Snowflake wings

I am working on cutting and sewing this Christmas quilt. I am planning on sharing as I go along.


 Here is a quick tutorial for foundation piecing. The wrong side of the fabric faces the wrong side of the paper.
It is a bit tricky placing the print triangle. I wish it was a bit bigger with more wiggle room.


With white fabric it has to be trimmed or the dark will show through the fabric.


In my quilt I am using the same fabric in rounds around the center of each block. So the block will take 4 of the same set. There are 64 sets of the wings to do for the quilt.


 I prefer to tear off the paper before I start any quilt assembly.


I am linking (links in the sidebar) to:
needle and thread Thursdays

Thursday, May 31, 2018

Christmas Snowflake center

After making wild and goosey, I wasn't sure I would ever paper foundation piece again. But I love the look of these snowflakes and wanted to give it a try.


The foundations for this quilt are simple and large enough that it is is easy to see where you are sewing and give excellent results. The templates for printing are found in the link below.


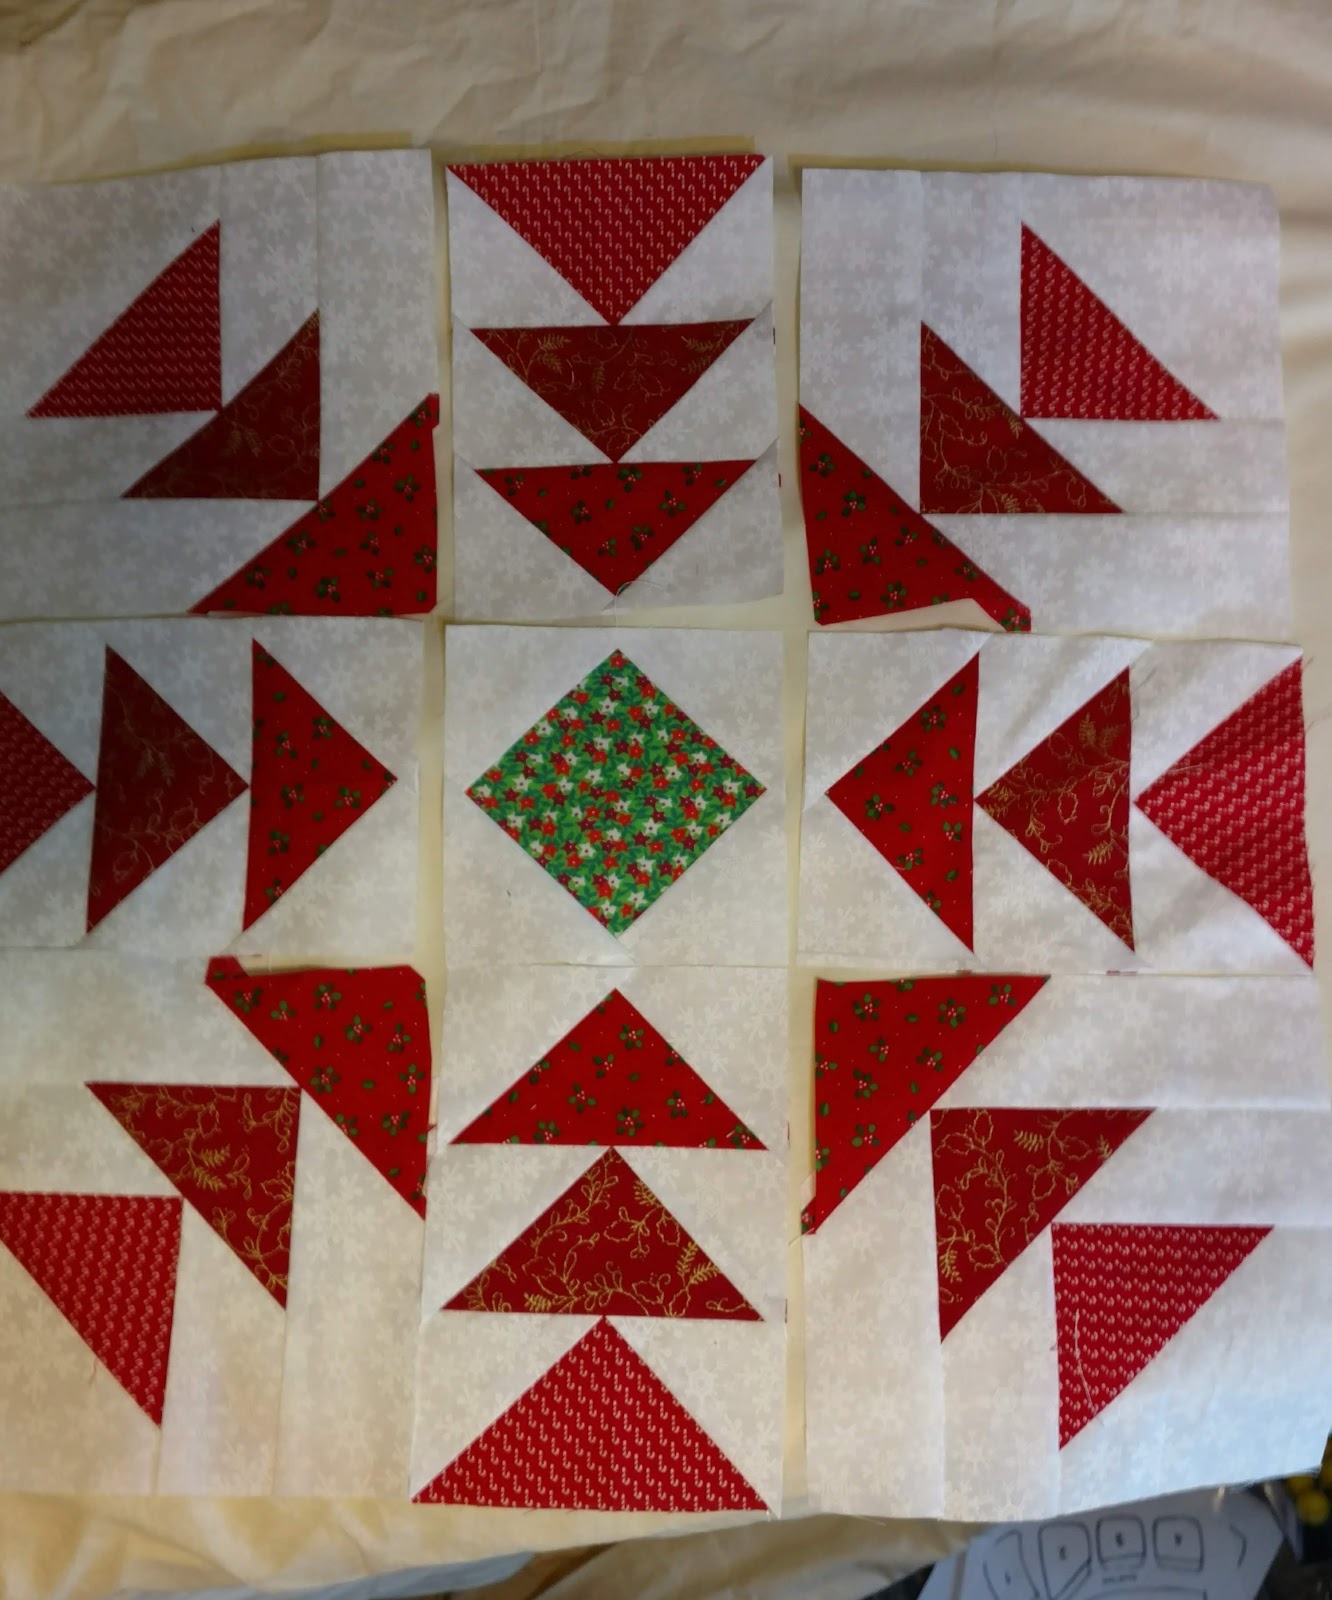
Since all the fabric pieces for the blocks have been pre -cut, it is a snap to get the block sewn. Starting with the 16 center squares. Here is a quick tutorial for foundation pieceing. The wrong side of the fabric faces the wrong side of the paper.


The first triangle is placed right sides together with the square on the back side of the paper. It is important to check that the triangle covers all the sewing line. I do that by picking it up and looking through the paper towards a light source.


Flip it over and sew on the line.
 I do better if I iron after each addition of fabric.


With white fabric it has to be trimmed or the dark will show through the fabric.


I do opposite sides and then again opposite sides.


Paper piecing is great for asolutely the best accuracy.


 After I have sewn all the seams, I will trim the paper on the lines.


 and then I tear off the paper


This quilt requires 16 of these center squares in a square. They are trimmed 4 1/2 inches square and will finish at 4 inches.


Intro/ templates


fabric requirements

cutting red and green fabric

cutting background

piecing the center

I am linking (links in the sidebar) to:
needle and thread thursdays
oh scrap

Thursday, May 10, 2018

cutting for Christmas Snowflake

Time to cut the background for Christmas snowflake quilt.


Cutting the background for this quilt requires 6 1/4 yards of a white, so it takes a bit of time to cut it all. I used a white on white snowflake fabric for my background. Just like the triangles for reds and greens, the back ground triangles just need to be accurate enough to cover the paper foundation piecing. I cut 224 - 3 1/2 in squares and cut them on the diagonal for 448 triangles. I could have cit strips and used the easy angle ruler if I needed to be accurate, but that is one extra step. I just cut the squares. That is a hefty stack of squares.


I cut
32 - 5 in squares cut on the diagonal for 64 triangles
128 - 2 1/2 x 4 in rectangles
128 - 2 1/2 x 5 1/2 in rectangles
18 - 2 in x wof strips subcut 6 of them into 12- 16 1/2 in sahsing


The box is full, and next week, it will be time to start sewing.


Intro/ templates


fabric requirements

cutting red and green fabric

cutting background

piecing the center

I am linking (links in the sidebar) to:
needle and thread thursdays
oh scrap

Thursday, May 3, 2018

cutting Christmas snowflake


Cutting for this quilt is easier than most, as the cutting is for the pieces for the paper foundation piecing. It doesn't have to be spot on accurate, just enough to do the job. So go ahead and stack a few more strips, we have a lot of triangles to cut.
Cut 16 3 1/2 inch squares from the assorted red and green Christmas fabric. It can be any assortment.
These will be the center of each snowflake.
Next I used 2 1/2 inch strips ( about 19)  to cut the small triangle with the companion angle ruler. you will need 16 sets of 24 or 384 triangles in assorted red and greens. I found it took at least 2 strips of the same fabric to make 24. IF your scraps don't make that many, cut in sets of 8 and make 3 sets to equal 24. 8 triangles will make a round. The magazine pattern calls for 6 - 5 1/2 in squares and cutting them diagonally twice. I prefer the companion angle ruler.
If you use the easy angle ruler to cut 1/2 square triangles in the beginning of the strip, you will have bonus triangles and not waste.
This is the fun part, getting to see all the pretty fabrics and pet them as you cut them. Next week we will cut the background pieces.


fabric requirements


I am linking (links in the sidebar) to:
needle and thread thursdays
oh scrap