Showing posts with label border. Show all posts

Wednesday, February 12, 2020

courthouse steps quilt

Slowly, I have been making Bonnie Hunter's wonky log cabin quilt using my strings and crumbs bins. Her pattern calls for 120 blocks and I have one done already that size, but this one, I have started putting it together with 72 blocks. I want to see if 8 x 9 looks like a decent size. I am sewing into blocks of 4.


I have decided to throw the frolic mystery quilt border pieces in as leader and enders along with my other projects. That way, before I know it, I will have the borders pieced and ready to go. I had also seen a border I liked on line and decided that is what I wanted for mine. It will make a ribbon around the edge. cool.


I am linking:

Monday, July 24, 2017

New week, new border


I have the border on Star Gazing (quiltville), but it seems to be missing something. hmm... I added another row of blocks and it is more square than rectangle. I prefer a rectangle quilt. Which do you prefer? But it is big enough for a bed.


I have a few more box kite (quiltville) blocks done. I am having fun digging through my 2 1/2 inch squares for the centers.


In preparation for borders and squaring mill girls, I have been cleaning off my cutting table ..again.
When I measured for the borders for star gazing, I realized it had been a very long time since I have seen this much of the table top  lol. I had to document it.


I am linking to:
Making Monday
main Crush Monday

Wednesday, June 28, 2017

A new template

I have been working on the borders for Bargain basement ( Bonnie Hunter scraps and shirttails). I was so excited to open a template package and actually use it. And it is nifty.


cutting was a breeze with the creative grids ruler, but sewing took a bit to figure how to hold my mouth to get the points right. I started thinking I would sew in pairs first. Luckily, I didn't get them all done, before I tried putting them together. It is much better to add one at a time so that I could line them up with the triangle on the bottom. I could match three of the sides before stitching the seam.


Linda had an appraisal done for the Indiana quilt and her happy birds quilt. The Indiana quilt appraised at $1550.00 and..


happy birds at $1950.00

These results were surprising to all of us. Mostly, this is a reflection of replacement costs. Sometimes as quilters, we devalue what we do - It's just a hobby, something I slapped together. That couldn't be further from the truth. Every stitch is an expression of parts of us that no one ever sees. Our work on each quilt is a lesson in progress not perfection. I know I grow better with every attempt I make, not just in skill level, but in my heart and soul. As I read quilter's blogs, I can see how they are changing and growing with every quilt they make. I love to see that.
I am worried that the next generation doesn't realize the soul satisfaction of creating something beautiful ( or not) from inside of themselves. I know many who make it seem that it is not worthwhile to take the time to make it yourself, not with walmart on every corner. They are wrong.


Picture from Bonnie hunter at quiltville.
I am linking to:
WOW
Midweek Makers
Jo's Country Junction UFO
Bee Social
Silly Mama WIP


WIPs with friends

Tuesday, June 20, 2017

ribbon border

I like this, but it wasn't what I thought I wanted, so back to the drawing board, so to speak.


I needed it more dark then light. I decided to add black every other one.

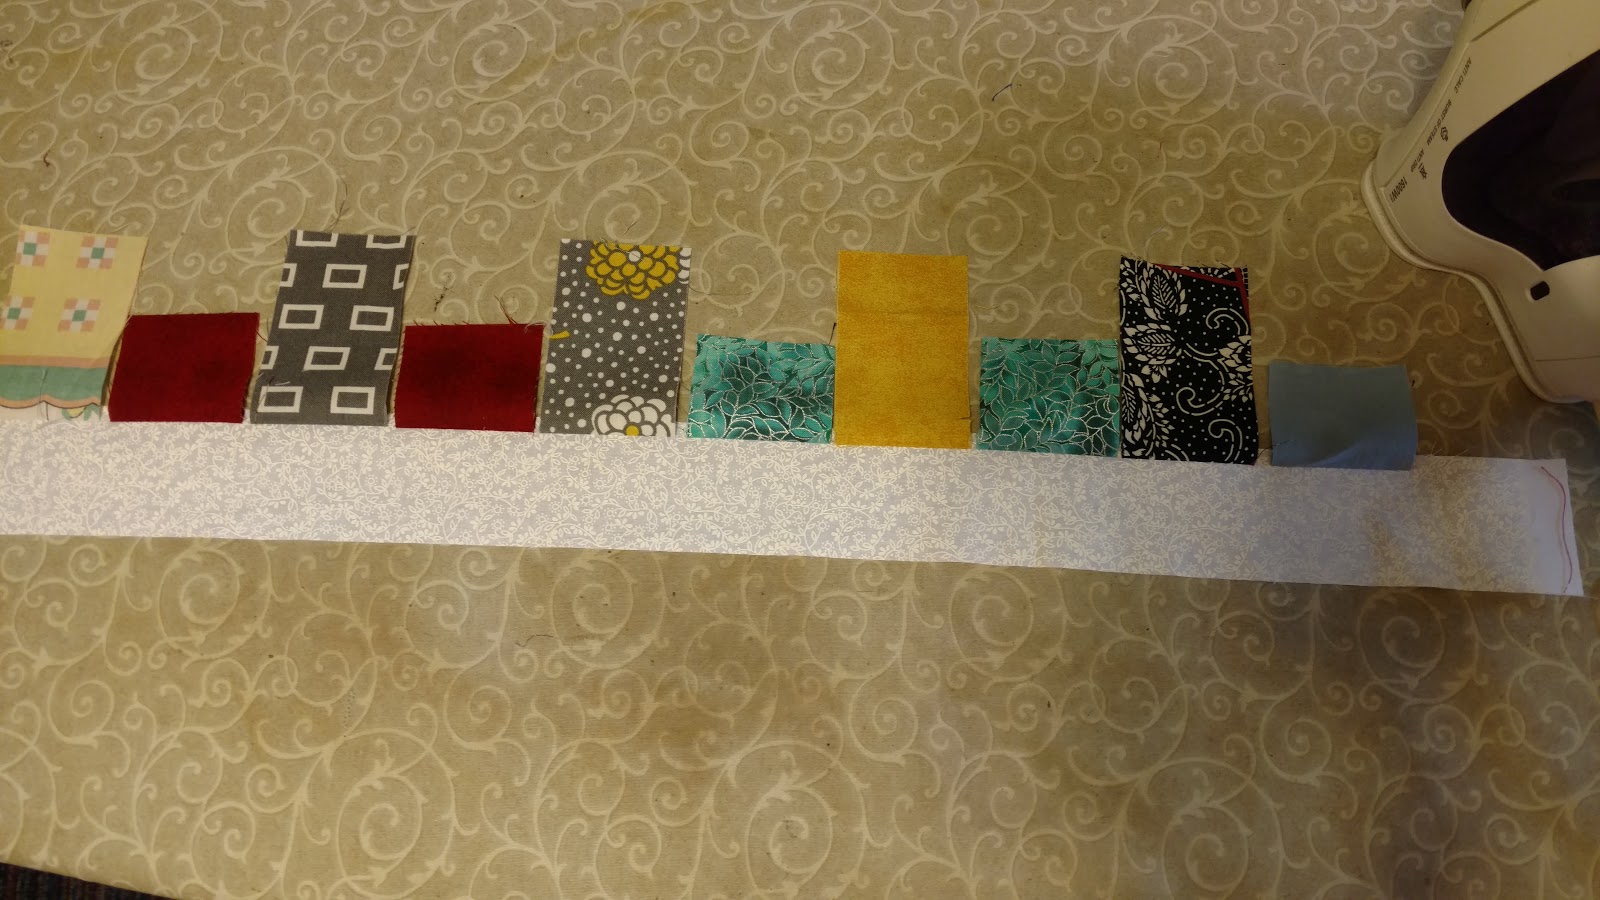
It would have been better to have changed to a black thread, but I don't think it was obvious on the front so .. oh well.  I keep a neutral thread on my machine all the time. It works 99% of the time. I sewed twice using the bonus buddy. I love the bonus triangles

They finish at 2 inches and are so cute!There should be 96 of them in black and white and 96 in print and white

and the snowball blocks are finished as well

I didn't press the triangles at first so I could nest the seams. The black on the left and the color on the right.
I think that is better.


I am working on the hour glass blocks for this year's leader/ender challenge. I just need to finish the neutrals for my swap partners.

And it is back on the design wall. Progress is slowing since every seam has to be pinned and each seam is getting longer.


I am linking to:
Making Monday
Moving it Forward Monday 
main Crush Monday


design wall monday

I am linking to:
Fiber Tuesday -
Free Motion by the River
to do tuesday
too cute tuesday

scraptastic tuesday

Thursday, May 25, 2017

making a border

I decided on my border for wild and goosey, and it would include a collection of 2 x 3.5 inch rectangles that I have cut out of the last of a scrap. Many of these were cut during my Carolina chain cutting marathon here. Bonnie Hunter suggests this size as one part of her scrap user's system. These are great for bricks in a quilt, or as the base for flying geese. I have a small collection, but I haven't ever used them. They are the perfect size for what I want to do in the border.

I cut 2 inch strips from whites and chain sewed these rectangles and 2 inch squares to it.
I ironed them and trimmed them with a 2 inch ruler.
I sewed them together in a dot - dash pattern. One strip full was about 71 1/2 inches which was close to the size across the top and the bottom.


And I want a little white on either side, now I am excited.

I am linking to:
needle and thread thursdays
oh scrap
I may have a scrap problem